
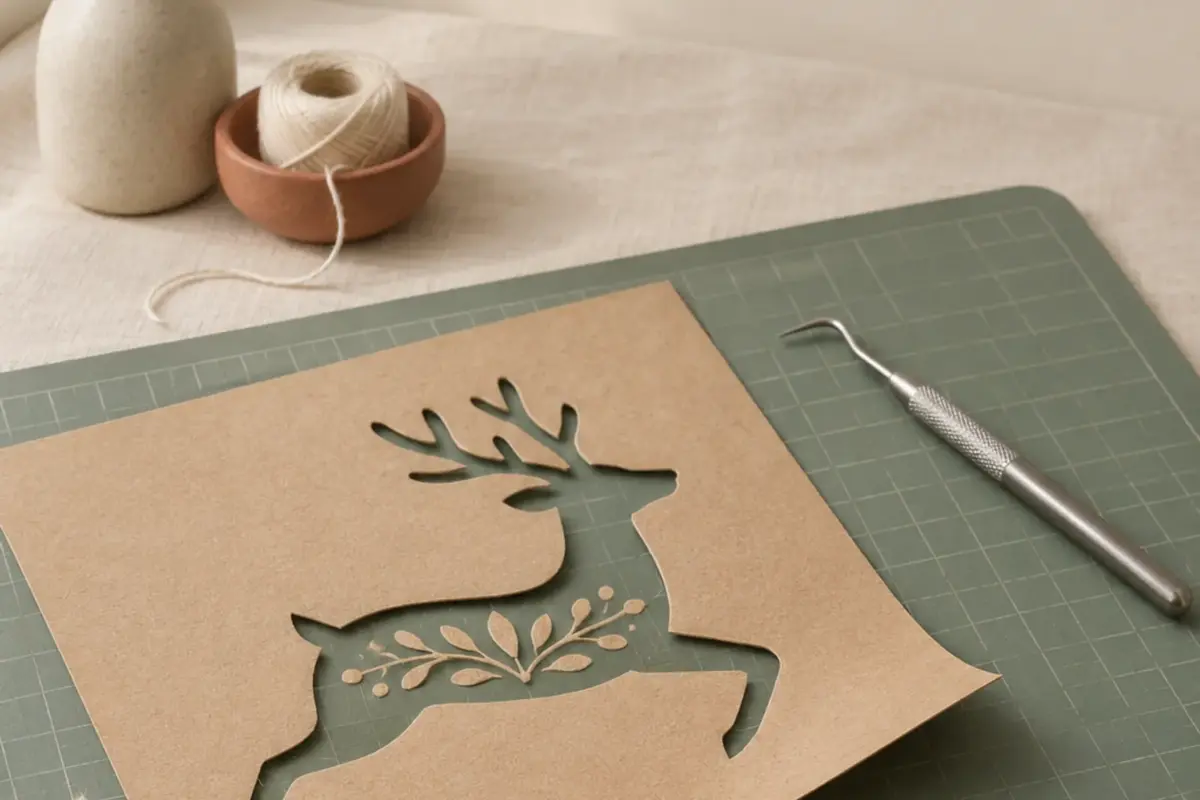
Weeding is the part between a finished cut and a usable decal: you pull away the vinyl that is not in the design. It becomes slow when a letter lifts with the waste or when tiny islands are hard to spot. A clean cut, a sensible order, and good light solve most of that work. Start with one small design before filling a whole mat.
This guide covers adhesive vinyl for decals and carrier-backed iron-on vinyl for fabric. Their application steps differ, but the basic weeding habit is the same: keep the wanted shapes anchored while you remove the waste around them.
Start with a cut you can weed
Choose an SVG with open letters and details large enough for your material. A fine script that looks clear on screen may leave hairline strokes on a four-inch decal. In Cricut Design Space, select the whole design and set its finished width before cutting. Keep the proportions locked so a circle does not turn oval. If you use Silhouette Studio, check the cut lines in the Send panel; an image that looks right on the page may have unexpected internal lines.
Place adhesive vinyl color side up on the mat, following the maker's instructions for that product. For typical carrier-backed iron-on, place the shiny carrier side down and check Mirror in the cut preview. Design Space may turn mirroring on automatically for an iron-on material setting, so verify the preview rather than assuming either state. A reversed letter is easier to catch on screen than after pressing.
Use the material setting for the actual sheet, then cut a small test shape in a corner. The blade should separate the vinyl layer cleanly while leaving the backing or carrier intact. If the waste will not release, check whether the cut completed before increasing pressure. If the blade scores through the backing, reduce the setting and try another test. Brand, blade condition, and mat grip all change the result.
Set up a small weeding station
Keep a hook or fine-point weeding tool, small scissors, a scraper, and a scrap cup beside the mat. A desk lamp aimed across the sheet makes cut lines more visible than light from directly overhead. On pale vinyl, tilt the sheet a little to catch the edge of a letter. A light pad can help with some colors, but it is optional.
Trim the cut design from the full sheet with a margin around it. This saves unused vinyl and leaves a manageable rectangle in your hand. Do not cut so close that you lose the outer waste edge. Leave the design on its backing while weeding. If you are making several decals, label the backs with size and color so a partly weeded piece does not get mixed into another order.
Weed from outside to inside
- Find a corner of the outer waste area, away from a thin letter or delicate point.
- Lift that corner with the hook and hold down the nearest wanted shape with a finger or scraper.
- Pull the waste back over itself at a low angle, moving slowly around narrow strokes.
- Stop at each place where the design tries to lift. Press it back onto the backing before continuing.
- Remove the inner waste from letters such as A, B, D, O, and P, then inspect every enclosed space.
- Hold the sheet under angled light and compare it with the design preview before applying tape or pressing.
For large text, cut a few shallow relief lines through the waste between letters before peeling. Do this only in the unwanted vinyl, with the backing protected. Smaller waste sections are easier to control than one long ribbon that can catch on a serif. If you are unsure where a line belongs, leave it alone and peel more slowly.
Fix the usual snags
A letter comes up with the waste
Pause and lay it back on the backing in its cut outline. Hold it in place while you pull the waste around it. If that happens repeatedly, the cut may be shallow, the detail may be too small for the vinyl, or the backing may have lost grip. Recut a sample rather than fighting every letter. Making the design slightly larger can help more than changing the blade pressure.
The vinyl tears between details
Cut the loose waste into smaller sections with scissors. Do not tug to make one peel finish. A sharp turn in the cut line can make a narrow strip break; that is ordinary. Work from another edge and remove the remaining patch separately. If tears run through the actual design, check the cut and replace a dull or damaged blade as directed by the machine maker.
You cannot see the cut lines
Move the lamp, tilt the sheet, and compare the piece with the SVG on screen. For a large batch, make one sample in a contrasting color first so you understand the shape. Avoid digging with the hook until you know which side of the line is waste. Tiny punctures in the wanted vinyl may become visible after application.
Finish according to the material
For adhesive vinyl, place transfer tape over the weeded design, burnish it, and lift slowly so the shapes stay aligned. Apply to a clean, dry surface, then peel the tape back at a low angle. Some textured surfaces need a different vinyl or more careful pressure; test a small corner before committing a full decal.
For iron-on, the clear carrier usually holds the weeded design together. Follow that vinyl's temperature, time, pressure, and peel instructions for the fabric and heat tool you own. Do not use adhesive-vinyl transfer tape as a substitute for a heat-safe carrier. Keep a note of the material and successful cut setting on your first good sample. The next sheet will take less time.
Related files
- SVG cut files for decals and iron-on projects.