
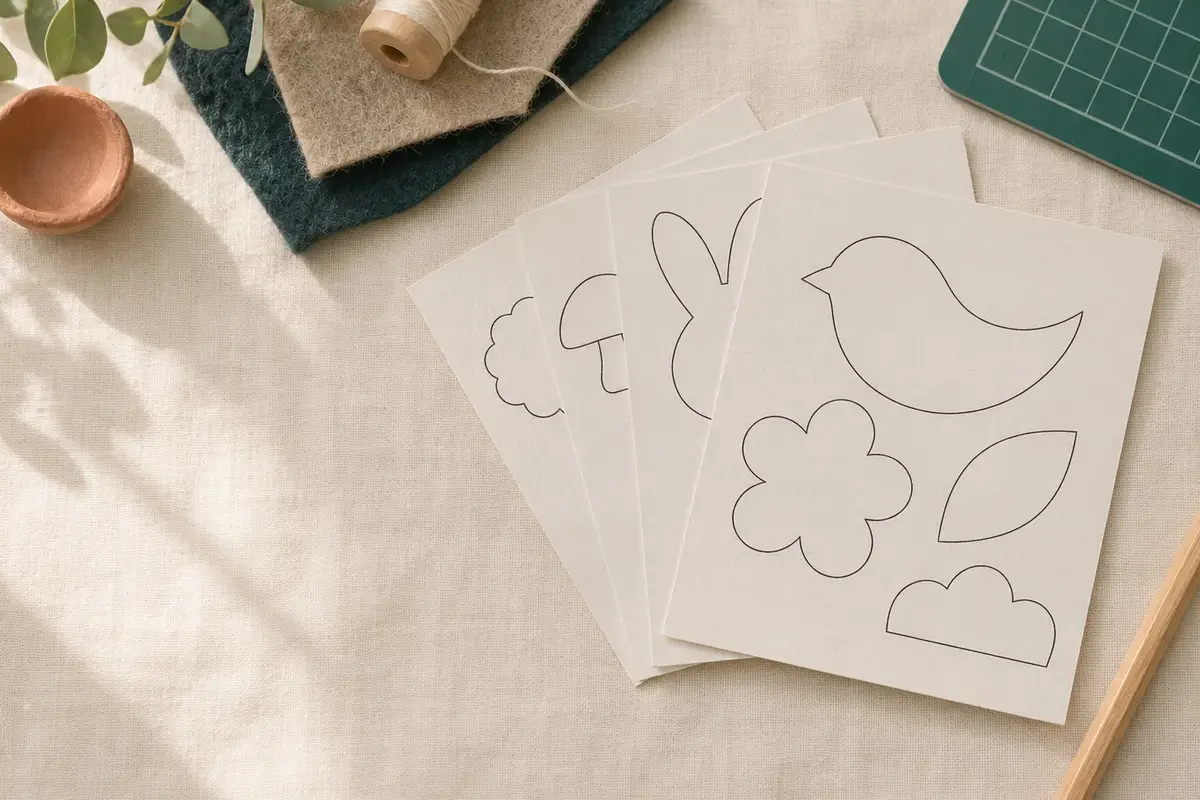
An hour is enough for a small batch of Valentine's pieces if you choose one design, one or two materials, and a simple finish. It is not enough time to learn a new layering method, test three unfamiliar vinyls, and make twenty different names. Pick the item your recipient will actually use: a card, a tag, or a label for a small gift.
The times below assume your Cricut is already set up and the blade and mat are ready. They are planning estimates, not promises. A first cut on unfamiliar material deserves a test piece. Use the material instructions and Design Space preview to confirm orientation and settings before starting a batch.
Set out a one-hour kit
Choose medium-weight cardstock for cards and tags, or permanent or removable adhesive vinyl for a smooth gift box or jar. Add a brayer or scraper, a weeding tool if using vinyl, a paper trimmer or scissors, and glue dots or a glue stick for paper pieces. Have a pen ready for the message. Do not plan on heat tools, drying paint, or a new adhesive that needs curing if you want a predictable finish.
Open one SVG cut file and check the layers. A single-color heart or short phrase is faster than a five-color paper design. Keep the full design grouped while resizing, then fit it to the blank. For a folded card, measure the front panel rather than the flat sheet. For a jar label, measure the flat or gently curved area, leaving room away from the lid and rim.
Project 1: a cutout card
A simple card works with a heart cutout or a short word on the front. Use a folded cardstock blank and a contrasting piece behind the opening. If your file has score lines, check that the tool and line operation match the project; otherwise fold by hand with a ruler and bone folder. A plain interior leaves time for a handwritten note.
- Set the card front size in Design Space and resize the motif to leave a visible margin.
- Place cardstock on a clean mat and select the setting that matches its weight.
- Cut one sample, remove the paper by bending the mat away from the cut, and inspect the edges.
- Cut the remaining fronts, then attach the backing color inside each card.
- Write the message before adding any bulky decoration.
Allow roughly 10 minutes for setup, 15 for cutting, and 15 for assembly if you already have the cardstock ready. Use the remaining time for messages and a spare card. If the first cut frays, pause and check the blade, mat grip, and cardstock setting rather than sending the whole batch.
Project 2: tags for small gifts
Tags are a good use for cardstock scraps. A heart, scalloped circle, or rectangle with a cut hole is enough. Cut several copies from one sheet, then add a name with a pen. A short length of twine or ribbon finishes each tag. For a school exchange, check any classroom rules on food or names before deciding what to attach the tags to.
Use Project Copies in the Prepare screen if you need several identical tags and verify that the shapes fit the material. If you want different names cut into the tags, allow more time for editing and weeding. Handwritten names are often faster and easier to read. Estimate 10 minutes to set size and duplicates, 10 to cut, and 20 to tie and write a modest batch.
Project 3: a vinyl gift label
Adhesive vinyl can put a short name or heart on a smooth tin, jar, or gift box. Clean and dry the surface first. Choose lettering with enough width to weed; very thin script can eat the whole hour. Cut a small sample of the trickiest letter before committing the full sheet. Weed the outer waste, then the centers of letters, and use transfer tape to keep the design aligned.
Press from the center outward and peel the transfer tape back low and slowly. A textured or dusty box may not hold vinyl well, so a cardstock tag is a better choice for that surface. Allow 10 minutes for layout, 10 to cut, 15 to weed, and 10 to apply. Keep a few minutes to inspect for lifted corners.
Choose a project that fits your time
| If you have | Make | Keep it simple by |
|---|---|---|
| Cardstock and glue | Cutout cards | Cutting one motif and writing the message by hand |
| Cardstock scraps | Gift tags | Using one shape and one ribbon color |
| Adhesive vinyl | Gift labels | Using broad letters on a smooth blank |
Do a quick count before cutting. Six cards with individual notes may take longer than twelve plain tags. If several people are helping, assign one person to weed or release pieces and another to write messages. Keep finished pieces in a tray so names and gifts stay matched.
When the project is for sale
CraftFile Studio's Personal license covers gifts and private use. To sell finished cards, tags, or decorated blanks made with a design, use Commercial for up to 500 finished units per design, without print on demand. Extended permits unlimited units and POD. Keep the SVG private under every tier. Count finished items sold from the same design across all channels, including a local market and an online shop.
Before listing a batch, photograph the actual finished item and check that the materials and size in the description match what you made. A single well-tested design is easier to reproduce than a menu of styles you have not cut yet. Keep one sample as a reference for the next run.
Related files
- SVG cut files for cards, tags, and vinyl motifs.
- Printable patterns for paper pieces you can cut by hand.