
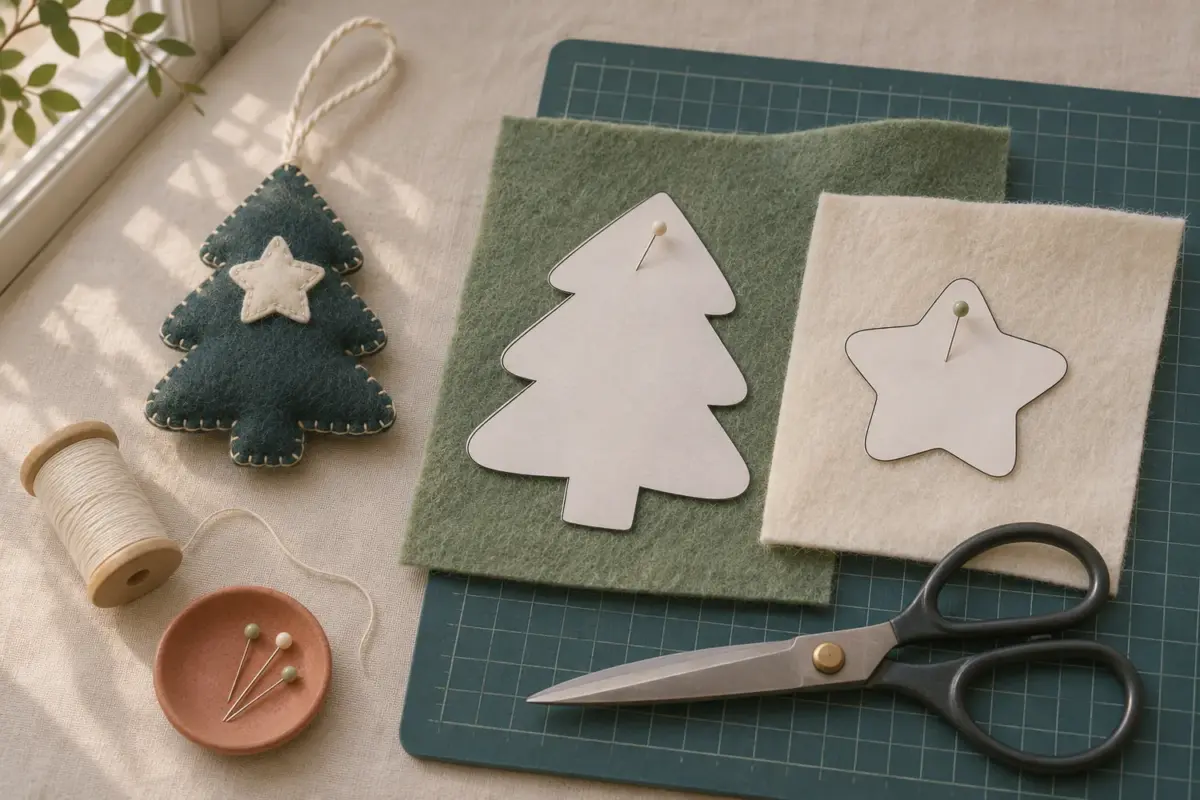
A felt pattern is a set of instructions, not just shapes to cut out. Piece names, cut counts, seam lines, and small placement marks tell you how the flat pieces become an ornament, toy, or appliqué. Reading those marks before cutting saves felt and avoids discovering halfway through that two pieces should have been mirrored.
Every designer can use slightly different symbols. Treat the pattern's own legend and written instructions as the authority for that project. The method below gives you a steady way to inspect a PDF and turn its information into a cutting and sewing plan.
Look through the whole PDF first
Open the file and find the materials list, size information, print instructions, pattern pages, and assembly steps. Some PDFs separate A4 and US Letter pages; choose the version matching your printer paper. If the file has tiled pages, find the page-order diagram and alignment marks before printing the whole set. Keep instructions visible on a screen or print them separately from the templates.
Check whether the pattern is for hand sewing, machine sewing, or both. Note the recommended felt type, thread, needle, stuffing, closures, and any optional details. If an item is intended for a child, follow the pattern's safety directions and your own applicable product requirements; small detachable pieces need particular care. Do not improvise a safety claim from the pattern illustration.
Print at the stated scale
- Select the correct A4 or US Letter pages.
- Set the print dialog to Actual Size or 100% and turn off Fit to Page.
- Print only the page with the scale test square first.
- Measure the square in both directions with a ruler and compare it with the dimension printed beside it.
- If it is wrong, check both the PDF reader and printer driver scaling before printing again.
- Print the rest only after the test page measures correctly.
An incorrect scale can make a face detail too large for its front panel or a gusset too short for the edge it must join. If the pattern is tiled, join pages using its alignment marks. Do not stretch a page to fit a printer margin; that changes the shape. Keep the original PDF untouched so you can reprint a clean copy later.
Decode each piece label
Write a small checklist with the piece name, color, and cut count. “Cut 1” means one piece. “Cut 2” may mean two identical pieces, while “cut 2 mirrored” means a left and right version. For a mirrored pair, flip the paper template or trace one piece with the template reversed, following the pattern's directions. Check which side of the felt will face outward if the felt has a visible texture or print.
Separate cutting lines from stitching lines. A dashed line may show a seam, fold, placement point, or opening. An arrow may show direction or orientation rather than a cut. Use the legend, then compare the diagram and written step. If a seam allowance is included, cut on the outer boundary and stitch at the marked distance. If the pattern says to add an allowance, do that consistently before cutting. Never assume all patterns handle allowances the same way.
Plan the assembly order
Most small felt projects build details on a flat front piece before joining the front and back. Mark where eyes, petals, pockets, or other appliqué pieces sit. Check which stitches the designer uses for each part: running stitch, backstitch, or blanket stitch can serve different purposes. A stitch diagram may show direction and spacing, not a scale drawing of the thread itself.
Look for the opening used to turn or stuff the project. If a hanging loop, tab, or limb is caught in the outer seam, it may need to be placed between layers before the seam is sewn. Mark that step on your checklist. Dry-fit the paper pieces in order on the worktable, then arrange the felt pieces the same way. This is especially helpful when several small shapes look alike.
Transfer marks without losing them
Trace cut edges with a removable fabric marker or use pins and sharp scissors as the pattern suggests. Mark placement points on the appropriate side of the felt. For a mirrored piece, label the back lightly so you do not sew two right sides by mistake. Keep paper templates and cut felt in small groups until the matching parts are joined.
When a pattern has many colors, put each color in a separate tray or envelope. Count pieces after cutting and again before stitching. If a piece seems to be missing, check whether its label calls for a fold or whether two copies were stacked together. Recut from the correct template rather than trimming a neighboring piece by eye.
Use the diagrams as checkpoints
After each assembly step, compare the work with the matching diagram. Are the appliqué pieces on the correct face? Is the loop pointing inward before the outer seam, if the construction requires that? Is the stuffing opening still free? These checks are faster than removing a whole row of stitches. If a diagram and a piece label seem to disagree, reread the surrounding written instructions before making a permanent cut or seam.
For a first attempt, make one sample from inexpensive felt in contrasting colors. It shows whether the scale, seam allowance, and stuffing amount produce the intended shape. Record any project-specific note beside the PDF for the next copy. If you sell finished items made from a CraftFile Studio pattern, Commercial covers up to 500 units per design with no POD; Extended allows unlimited units and POD. The PDF itself remains private under every tier.
Related files
- Printable patterns for felt and sewing PDFs.