
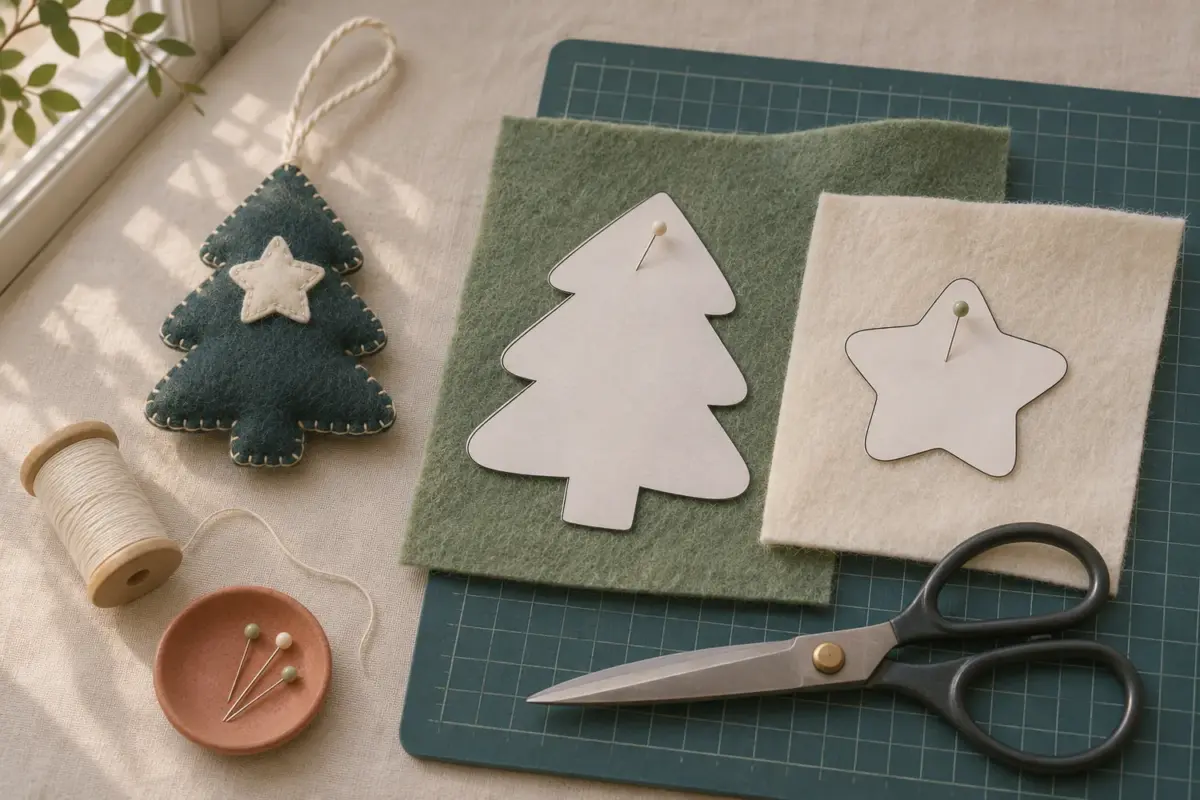
Canva is handy when a printable needs a name, date, or short line of text. It can also change page size or shift imported elements if you treat every PDF as fully editable. Before opening a template in Canva, decide what you need to change. A finished felt pattern that only needs printing may be safer to print from a PDF reader. A card or label with a blank text area may be worth personalizing.
This guide covers printable templates for home or print-shop output. It does not turn a licensed template into a new file you can sell. Keep the original download as your reference and use a separate working copy for edits.
Check what you downloaded
Look for the file format and intended paper size. A PDF may include A4 and US Letter versions, a scale square, fold lines, or assembly instructions. A PNG is a flat image; you can place it on a Canva page, but you cannot edit its individual letters or shapes as if they were separate elements. A PDF imported into Canva may be converted into editable pieces, or some parts may arrive as images. Inspect before making promises about what can be changed.
Read the template's instructions first. If exact scale matters, as it does for a sewing pattern, keep its test square and measure it after printing. If a card includes a trim line or bleed, identify the final cut edge and safe text area. Do not place a name in a narrow edge area just because the editor lets you type there.
Build a page that matches the paper
Choose the page dimensions before placing art. Use A4 for an A4 template or US Letter for a Letter template. If you import a PDF, compare the imported page size with the original. If you place a PNG, size it using the template's stated dimensions rather than stretching it by eye. Keep the proportions locked so a circle stays round and a scale square remains square.
Canva's margin and bleed views can help with trim projects. They are guides, not a substitute for measuring a physical print. If a background must reach the edge, extend it into the bleed area and check your print provider's requirements. Home printers often leave an unprinted margin, so plan for trimming or use a design with a white border. Keep important text inside the safe area.
Add text without disturbing the template
- Make a copy of the original file or Canva design.
- Upload the template and inspect all pages for missing or shifted elements.
- Confirm the page size and the size of any scale reference.
- Add a text box in the intended blank area and choose a readable font.
- Align the text with the template's guides, leaving room from trim and fold lines.
- Export one proof page, print it, and measure or trim it before making a batch.
If the imported PDF text changes font or spacing, do not assume the rest of the page remained exact. Compare it with the original side by side. For a pattern piece, a subtle shift can matter more than a visible font change. If the PDF is not reliable after import, place the original as a flat background for a visual project, or print it unchanged and add the name by hand. Do not cover required cut marks or instructions with a text box.
Export and print a proof
For a print-ready PDF, choose Share > Download and select the available PDF Print option or print preset. If the project needs crop marks and bleed, use Canva's export settings and confirm whether your home printer or print shop expects them. Crop marks are for trimming; they are not part of the finished card. For a simple page without edge-to-edge color, they may be unnecessary.
Open the exported PDF and check page count, orientation, text placement, and final dimensions. Print one page at Actual Size or 100% when template dimensions are exact. Measure the test square or a known feature with a ruler. Printer software can silently fit a page to the printable area, so check its scaling setting too. Only then print the full run.
For cards, cut one sample and fold it. Check that the front and back align, text clears the fold, and no important detail is trimmed. For labels, test one on the actual container or notebook. For sewing patterns, compare the printed pieces with the original instructions and do not use a Canva-edited page if its scale has shifted.
Keep the file and license straight
Personalizing a finished printed item does not grant permission to sell the editable template. CraftFile Studio's Personal tier covers private projects and gifts. Commercial allows sales of up to 500 finished units per design without POD. Extended allows unlimited units and POD. None permits reselling or sharing the underlying PDF, PNG, or an edited digital copy. If you use a font, photo, or graphic added inside Canva, check that element's own terms for your intended use as well.
Save the original template, the working design, and the exported PDF under different names. Add the paper size and successful print setting to the filename or project notes. That small record helps when a customer asks for a matching printed card or you need to make another label later.
Related files
- Printable patterns for PDF patterns and templates.
- PNG sublimation designs for flat artwork used in printed projects.