
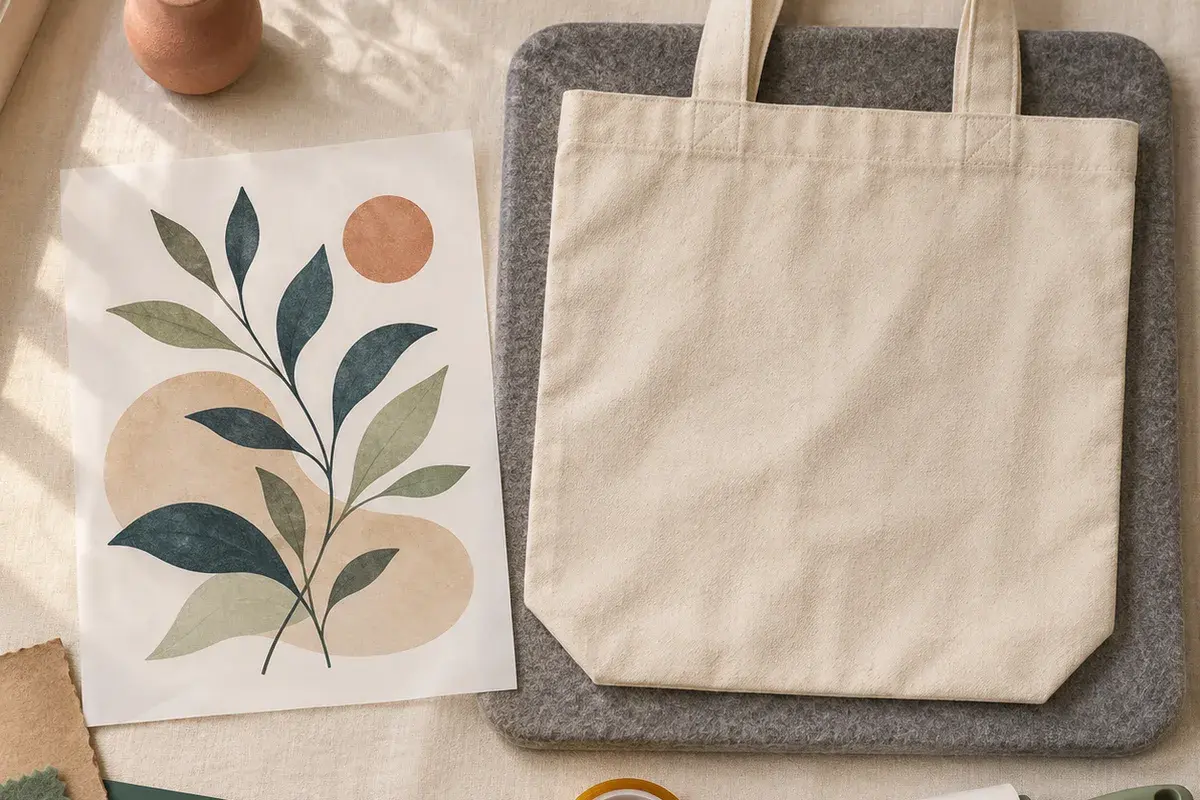
A sublimation PNG is a picture file prepared for printing onto a transfer. It carries color and fine detail as pixels, often on a transparent background. It is useful for a mug wrap, a shirt graphic, or a coated ornament. It is not a blade-ready cut file. For a cut shape, choose an SVG; for a print that keeps painted texture and shading, choose the PNG.
Sublimation also needs the right equipment and blank. A normal printer with ordinary ink cannot produce the transfer. The printed image must be pressed onto polyester fabric or a blank with a sublimation coating using the time, temperature, and pressure recommended for that blank. This guide covers the file and print checks; follow the instructions for your particular printer, ink, paper, press, and blank when setting the machine.
Check the PNG before printing
Extract the download ZIP and locate the actual .png. Open it in an image editor or print application. If the file is meant to have transparency, place it over a colored background for a quick check. A transparent area shows the background beneath it. A white rectangle stays white and may transfer or obscure the blank, depending on the process and artwork.
Check the product page for pixel dimensions and intended physical size. CraftFile Studio's PNG category describes transparent, 300 DPI artwork, but the pixel count still limits useful print size. Divide the width in pixels by 300 to estimate inches at 300 pixels per inch. A 3000-pixel-wide file is about 10 inches at that density. Enlarging far beyond its planned size may soften edges, even when the editor still says 300 DPI in the file information.
Measure the print area on the actual blank. A nominal mug size is not a substitute for measuring its printable coating and handle gap. For a shirt, use a paper rectangle at the intended size against the garment before printing. Leave room for seams and pressing clearance.
Prepare the transfer in order
- Open the PNG in software that can print at a specific size. Keep proportions locked as you set the width or height.
- Match the design to the measured print area. Leave a little margin for trimming and placement.
- Decide where the artwork will sit on the blank. If it includes words or a directional image, print a small paper proof first.
- Mirror the design once for a transfer that will be placed face down. Check whether your print program or printer driver already has a mirror option so you do not mirror twice.
- Select the printer loaded with sublimation ink, the suitable transfer paper, and the color settings recommended for that setup.
- Print a test on transfer paper. Let it dry as directed before handling and pressing.
The transfer often looks dull before pressing. The color develops when heat moves the dye into the compatible surface. Do not judge the final color from the loose sheet alone. Compare the pressed result on a test blank with the screen and adjust the print profile or artwork only after seeing that result.
Mirror and placement checks
The easiest mirror test is a short word printed in the corner of a scrap sheet. Hold the transfer as it will sit against the blank. The text should read correctly after transfer. If your printer software has Mirror Image enabled, leave the art itself unmirrored in the editor. If the editor mirrors it, turn the driver option off. One mirror is enough.
Secure the transfer using heat-resistant tape as recommended for your blank, especially on curved items. Movement during pressing can cause a faint second image called ghosting. Keep fingers off the printed face and make sure the blank is clean and dry. For a shirt, a short pre-press may remove moisture and wrinkles if your blank's instructions call for it.
Do not guess a universal press recipe. Coated mugs, fabric, and metal ornaments need different settings, and equipment varies. Use the blank manufacturer's guidance for time, temperature, pressure, cooling, and whether to peel hot or cold. Test one item before producing a batch.
Why the finished print may look different
Soft or blocky edges
Check the PNG's pixel dimensions against your print size. A small image stretched to a large shirt front will not gain detail from a higher DPI label. Print at the intended size or use a larger source. Also confirm that your print application is not reducing resolution while exporting or sending the job.
Wrong or muted colors
Color depends on the artwork, printer, ink, paper, profile, press, and blank. Start by confirming you chose the intended printer and color settings. If your setup uses an ICC profile, follow the ink or printer supplier's instructions and avoid applying two competing color corrections. Make one controlled test at a time; changing several settings together hides the cause.
A pale result on fabric
Check the fabric content. Sublimation dye bonds best with polyester; a low-polyester shirt may give a much softer result. A compatible coating plays the same role on a hard blank. Confirm that the press reached the required conditions for that material, using the blank maker's directions.
White space around the art
Open the PNG on a colored canvas and inspect its corners. If a visible white box is part of the picture, it is not transparent. Use the intended transparent PNG from the download or ask the seller for help. Removing a background by hand can leave a pale fringe, so inspect the edge at full size before printing a batch.
Keep a repeatable print note
When a test works, write down the file size, printer setting, paper, blank, press setting, and result. Keep a small sample with that note. The next time you print the design, you can reproduce the setup instead of relying on memory. If you change blanks or ink, make another test; the old settings may no longer be the best fit.
If you sell finished products, check the license before printing multiples. CraftFile Studio's Personal tier covers projects and gifts. Commercial covers up to 500 finished units per design, with no print on demand. Extended covers unlimited units and print on demand. The PNG itself cannot be resold or shared under any tier.
Related files
- PNG designs for sublimation and other printed crafts.