
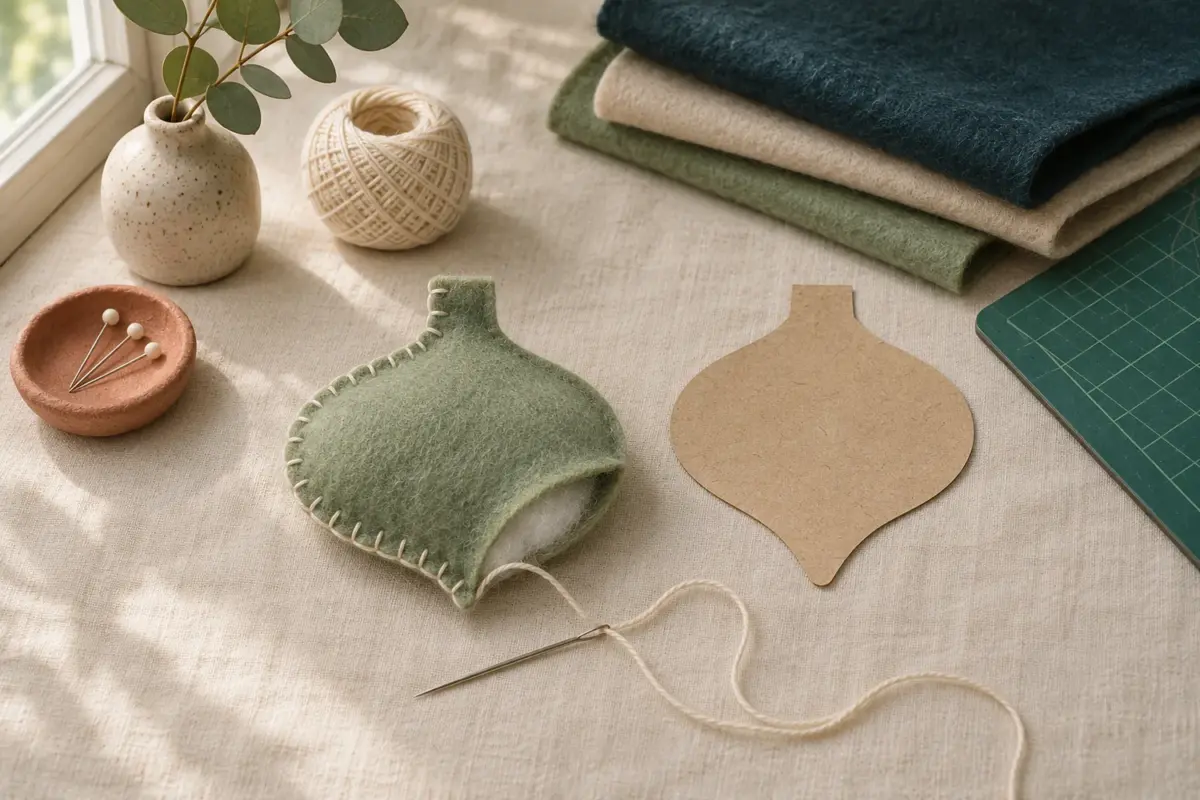
A felt ornament is a good small project for learning how a PDF pattern becomes a finished object. The important work happens before the first stitch: print at the right scale, identify each piece, and decide where the hanging loop and opening will go. Once those are clear, the sewing is a steady sequence of cutting, stacking, stitching, and stuffing.
Use the materials list and stitch directions in your chosen pattern for exact pieces and amounts. This guide shows a general method for a two-sided, hand-sewn ornament. If your PDF uses different construction, such as a flat appliqué or machine seams, follow its specific instructions where they differ.
Gather what the pattern calls for
Typical supplies include felt in the listed colors, matching embroidery floss or thread, a hand-sewing needle, sharp fabric scissors, pins or small clips, stuffing, and ribbon or cord for the loop. A pencil or removable fabric marker helps transfer placement marks. For very small shapes, a fine needle and short stitches make the edge easier to control. Keep glue optional unless the pattern specifically uses it.
Extract the download ZIP if there is one, then open the PDF in a reader that shows print scaling. CraftFile Studio's printable patterns include A4 and US Letter versions and a scale test square. Choose the paper version that matches your printer. Before printing every page, print the page with the test square and check it with a ruler.
Print and check the PDF
- Select the correct A4 or US Letter pattern file or pages.
- In the print dialog, choose Actual Size or 100%. Turn off Fit to Page, Scale to Fit, and similar automatic resizing.
- Print the test page. Measure the test square in both directions against the dimension marked on the pattern.
- If it is wrong, review the print scale and printer driver settings before printing the rest.
- Print the remaining pages and join any tiled pages along their marked alignment lines, using the pattern's assembly guide.
Do not skip the ruler check because the page looks normal. A small percentage of scaling can change how two curved pieces meet or how a tab fits into a slot. If a page has a border that your printer cannot reach, use the pattern's alignment marks rather than stretching the page to fit the printable area.
Cut paper templates, then felt
Read the full pattern once before cutting. Note which pieces are cut once, which are cut twice, and which should be mirrored. Mark any seam allowance, fold, or placement line described in the instructions. A printed line may be a sewing guide rather than a cutting edge. When in doubt, compare the piece label and illustration before putting scissors into felt.
Cut the paper templates neatly and place them on the felt to plan color and grain. Felt has no woven grain like cotton, but it may have a smoother face or a slight directional look. Pin or clip the template, or trace around it with a removable marker. Cut just outside a thick printed line if the pattern says the line is the boundary; thick paper lines can add a little width if you cut inconsistently. Keep each pair of mirrored pieces together.
Small details are easier to attach while the ornament is still flat. If the pattern has a face, leaf, or patch, position it on the front piece and secure it with the specified stitch. Check that it does not sit too close to the outer seam. A detail placed at the edge can get caught when you join the front and back.
Stitch the ornament in order
- Prepare and attach any appliqué pieces to the front panel.
- Cut the loop to the length given in the pattern. Fold it and place its ends between the front and back pieces at the marked top point.
- Align the outer edges and pin or clip them. Check that the loop's free end points into the center while you sew, so it will turn outward when finished.
- Stitch around the edge using the pattern's seam allowance and stitch. A blanket stitch is common for exposed felt edges; a running or backstitch may be specified for another finish.
- Leave the opening shown in the pattern. Add stuffing in small amounts, pushing it gently into corners without stretching the seam.
- Close the opening with the same stitch spacing and secure the thread on the inside or as the pattern directs.
Pull the thread snug enough to join the edges, but not so hard that the felt puckers. If the piece curves sharply, shorten the stitch length to follow the curve. Before closing, check the loop with a gentle tug and make sure no stuffing is caught across the seam. A small amount of evenly placed stuffing often gives a cleaner shape than one tightly packed lump.
Fix common first-ornament problems
The pieces do not match
Recheck print scaling first. Then compare the labels: you may have cut one front and one unrelated backing piece, or missed a mirrored part. Put the paper templates on top of the felt pieces to find the mismatch. Trim only a small difference caused by cutting; do not reshape a whole pattern piece by eye.
The edge looks uneven
Draw a light seam guide at the stated distance from the edge, then stitch along it. Keep the same spacing between stitches and turn the ornament as you sew. A visible blanket stitch can look tidy without being machine perfect; regular spacing matters more than pulling every loop as tight as possible.
The ornament looks lumpy
Remove a little stuffing, separate it into small wisps, and refill the corners first. Roll the piece gently between your hands before closing. If the felt is very thin, too much stuffing can show through or distort the outline. Use the pattern's suggested felt weight when possible.
Finish and store the pattern
Trim loose threads, smooth the edge, and hang the ornament briefly to check its balance. If it tips, the loop may be off center or a heavy appliqué may pull one side. For the next ornament, mark the loop point more carefully before sewing. Save the PDF, the size you printed, and a note about any material changes so a second ornament is easy to make.
For sales, CraftFile Studio's Personal license covers gifts but not items for sale. Commercial permits up to 500 finished units per design and no print on demand. Extended permits unlimited units and print on demand. The PDF pattern itself remains a private digital file under every tier.
Related files
- Printable patterns for felt and sewing PDFs.