
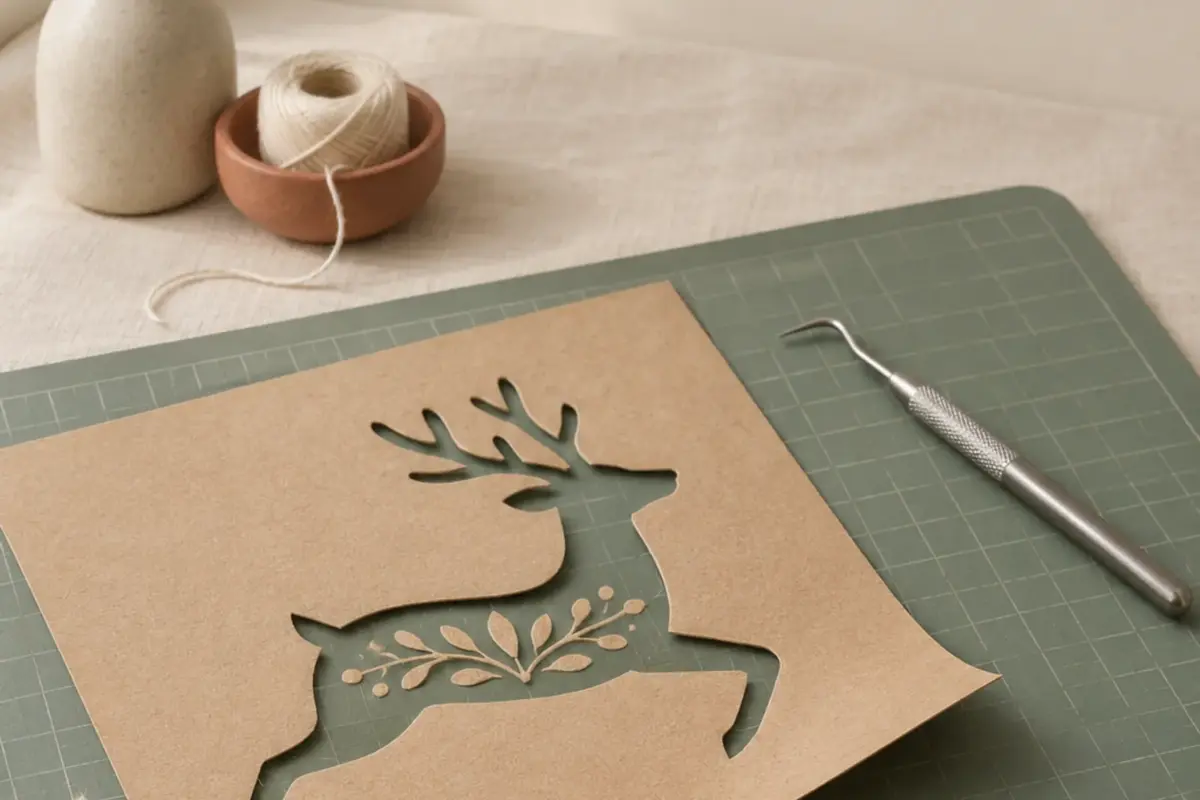
A layered SVG turns a flat drawing into separate pieces of cardstock. The colors on screen are a guide to what to cut and stack. The cleanest results come from deciding the finished size first, checking how each mat will cut, and assembling from the back layer forward. A little planning matters more than rushing through a pile of tiny paper parts.
This guide uses Cricut Design Space for the cut steps. The same physical ideas apply with another cutter: keep each layer's scale, test small details, and make a reference before taking the artwork apart. Use the product preview as your map when choosing colors and assembly order.
Read the design before cutting
Extract the download and open the .svg. Look at the number of layers and the largest backing shape. Decide the final width based on the card, frame, gift tag, or wall piece you are making. Then check the smallest bridge or cutout. A very narrow tab may tear when lifted from the mat, even if the overall design has plenty of room.
Choose cardstock by weight and finish for your machine and mat. A clean, smooth stock is easier for a first layered cut than a heavily textured or glittered one. Gather a scraper or brayer if you use one, a thin lifting tool, adhesive suited to paper, and a dry surface for assembly. Keep an extra sheet of the main color for a test and possible recut.
Upload and size the whole design
- In Design Space, open a blank Canvas and choose Upload > Upload Image.
- Browse to the extracted SVG, continue through the vector upload, and place it on the Canvas.
- Leave the design grouped while you enter its finished width. Keep proportions locked.
- Review the Layers panel. Each color or shape that needs separate paper should remain a separate cut layer.
- Compare the layer order with the product preview. If you need to adjust it, move pieces in the Layers panel before cutting.
- Save the project with a clear name and the finished size, then select Make It to inspect the mats.
An SVG carries cut paths. You do not need to choose Image Type or erase a background in the current vector upload flow. Those instructions belong to raster images such as PNG. If you accidentally chose a PNG preview, go back and upload the SVG so each intended paper piece has its own path.
Understand Group, Attach, Weld, and Offset
Group keeps pieces together while you move or resize them on the Canvas. It does not force Design Space to keep that exact layout on a mat. Attach does keep selected shapes in fixed positions on the mat. Use it for same-color details whose spacing matters or for score marks that must land on a particular cut piece. Attach by material color so you do not force unrelated colors into one mat arrangement.
Weld turns overlapping shapes into one cut silhouette. That can help if you combine letters into a paper word, but it can also destroy the separate parts of a layered picture. Save a copy before welding. Offset creates a new outline around a selected shape. A small positive offset can make a backing or shadow layer, but check the new shape for closed holes and awkward spikes. These commands solve different problems; choose the one that matches your intended physical piece.
Prepare the mats and make a test
In the Make It preview, inspect every mat. Count the colors and compare them with your paper stack. Look for small pieces placed near an edge or unexpectedly far from their parent shape. If an important arrangement changed, return to Canvas and Attach those pieces as needed. A change in mat placement is normal for loose cuts; Design Space often rearranges shapes to save material.
Cut one small area or a duplicate of the most delicate piece first. Use a setting that matches your cardstock and machine, following Design Space's prompts. Lift the mat away from the paper rather than bending the paper sharply upward; that helps reduce curling. If a bridge tears, try a larger finished size or different stock. More pressure is not always the answer when the paper itself is fragile.
- Place the first color on the mat and cut its pieces.
- Remove each piece carefully and put it in a labeled tray or on a sheet marked with the color name.
- Repeat for the remaining colors, checking each mat before loading material.
- Keep the tiny cutouts that are meant to be part of the design. Discard waste only after comparing with the preview.
- Lay out all layers dry before applying adhesive.
Assemble from back to front
Use the largest backing piece as a base. Place the next layer without glue and align its outside edges, notches, or central shape. Continue stacking dry until the picture matches the preview. This reveals missing pieces while they are still easy to recut. A light pencil mark on the back of a hidden layer can help you remember orientation.
Apply a thin, even amount of adhesive or small foam spacers according to the look you want. Too much wet glue can warp cardstock and squeeze through open cuts. For a flat card, keep layers pressed under a clean sheet of paper while the adhesive sets. For dimension, use foam where it will support the piece without showing through a cutout. Work from the center outward and check alignment after every layer.
If the design has a score line for a fold, set that line to Score with a compatible tool and Attach it to the card base before cutting. A floating score line may move to another mat position. Fold only after checking that the scored side and card orientation match the project.
Fix a layer that will not fit
The pieces are different sizes
You may have resized a color after ungrouping. Return to the saved grouped design, set one overall width, and recut the affected layer. Do not stretch the paper piece by hand; that will distort the artwork.
A small detail tears
Try a larger final size, a smoother cardstock, or a fresh mat with appropriate grip. Reduce handling by lifting the mat from the paper. If the detail is optional, compare the finished design with and without it before changing the digital source.
The colors look reversed
Check the stacking order against the product preview. A dark outline may belong on top, while a solid color is the back layer. Arrange all pieces dry before glue. Once wet adhesive sets, changing order can damage thin cuts.
For sales, the Personal license covers projects and gifts. Commercial allows up to 500 finished units per design, excluding print on demand. Extended allows unlimited units and print on demand. Keep the SVG private even when you sell the finished paper craft.
Related files
- SVG cut files for layered cardstock projects.
- Printable patterns for paper templates and measured guides.